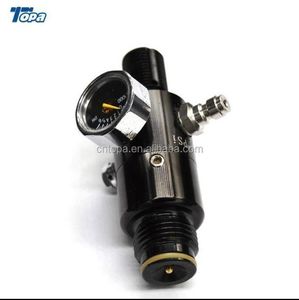
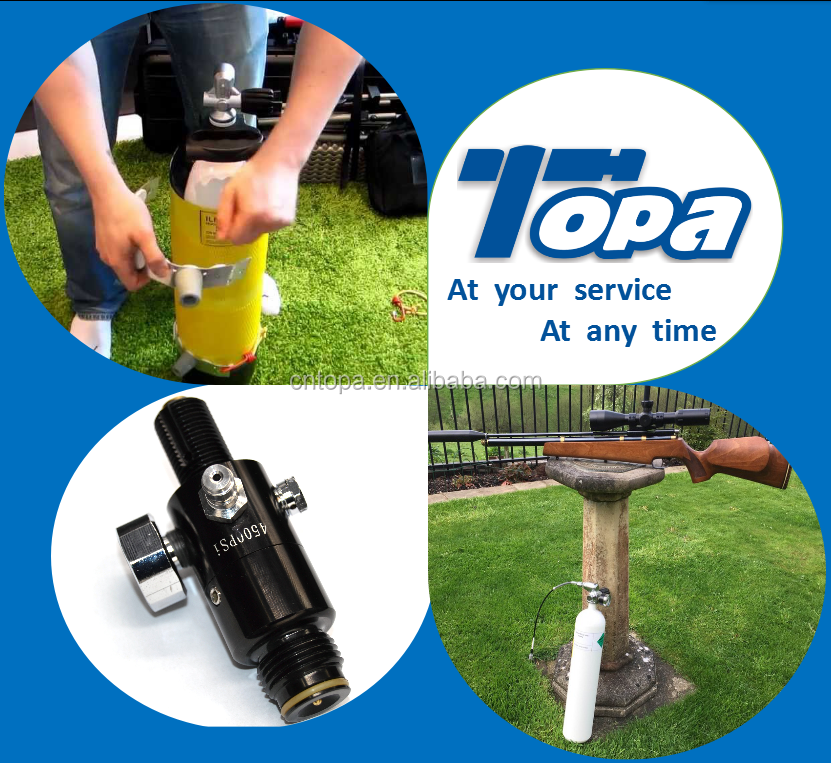
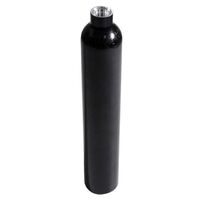
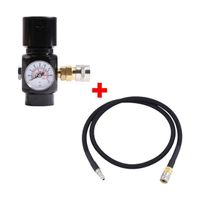
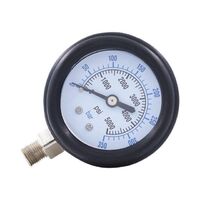
Gas Stove Paintball Tank Adjuster
- $6.60 / >=10 pieces
- 10 pieces
- Shijiazhuang Topa Trading Co., Ltd.
- Hebei, China
- Ms Cherry Hou
| Supply capacity: | 10,000 Gas Stove Paintball Tank Regulators per Week | payment terms: | L/C,Western Union,D/P,D/A,T/T,MoneyGram |
| brand: | Gas Stove Paintball Tank Adjuster | Packaging Details: | Protect the gas stove paintball tank regulator with a bubble wrap first and then a wood wrap |
| product name: | Gas Stove Paintball Tank Adjuster | type: | Professional Mini 4500PSI Input and 1800psi Output Paintball Regulator, Paintball Regulator |
| brand: | Gas Stove Paintball Tank Adjuster | model: | 4500PSI Input High Pressure Paintball Can Regulator, Paintball Can Regulator for Gas Stove |
| Packaging Details: | Standard design or custom design | color: | custom made |
| port: | Ningbo, Shanghai or Tianjin | port: | Shenzhen/Ningbo/Tianjin |
| place of origin; place of origin: | China (Mainland), China | Material: | Stainless steel |
| Terms of trade: | FOB |
Gas Stove Paintball Tank Adjuster
Gas Stove Paintball Tank Adjuster
Paintball AdjusterRated 4500 psi, 1800 psi output pressure 4500 psi regulator with 3k and 7.5k rupture discs.
Paintball adjusters are lightweight and easily rebuilt with high air flow.
Paintball adjusters will fit most tanks with M18X1.5 threads. Output thread size G1/2-14.
Paintball adjusters are the most economical high performance fuel tank adjusters.
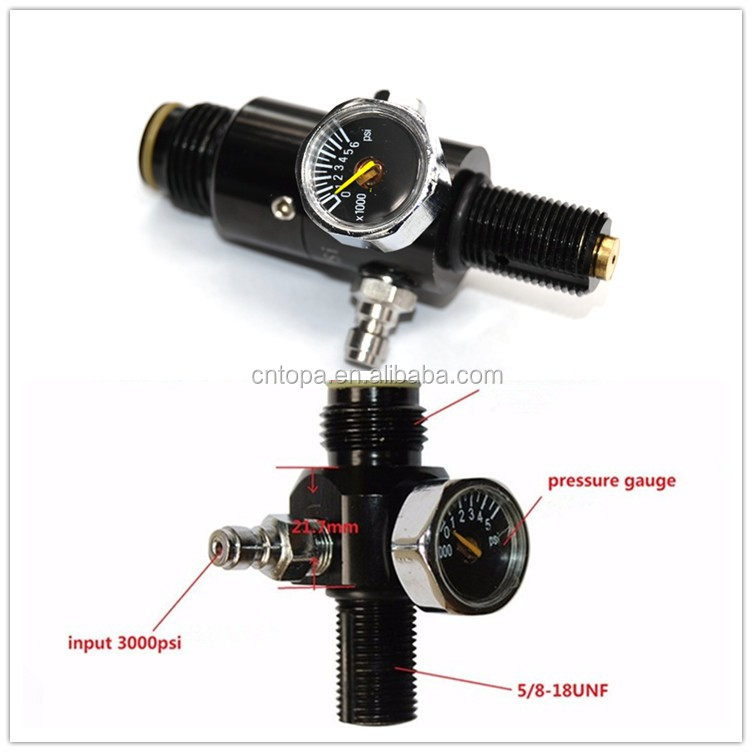
Gas Stove Paintball Tank Adjuster
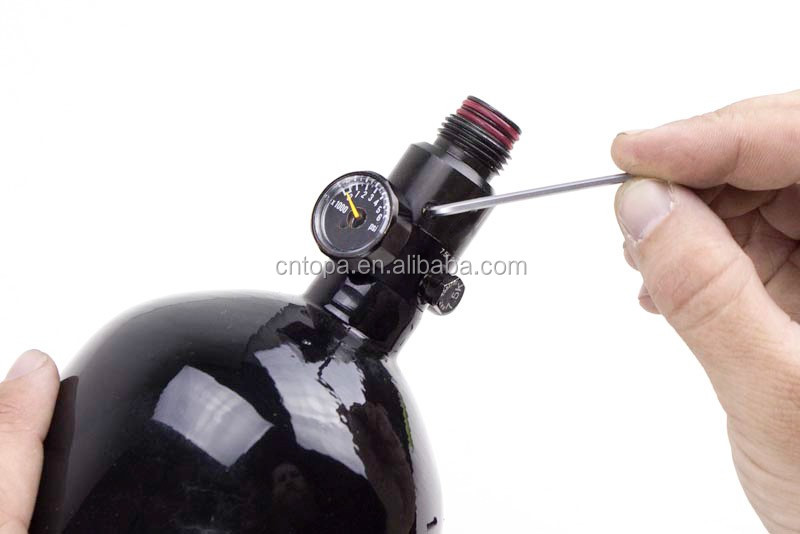
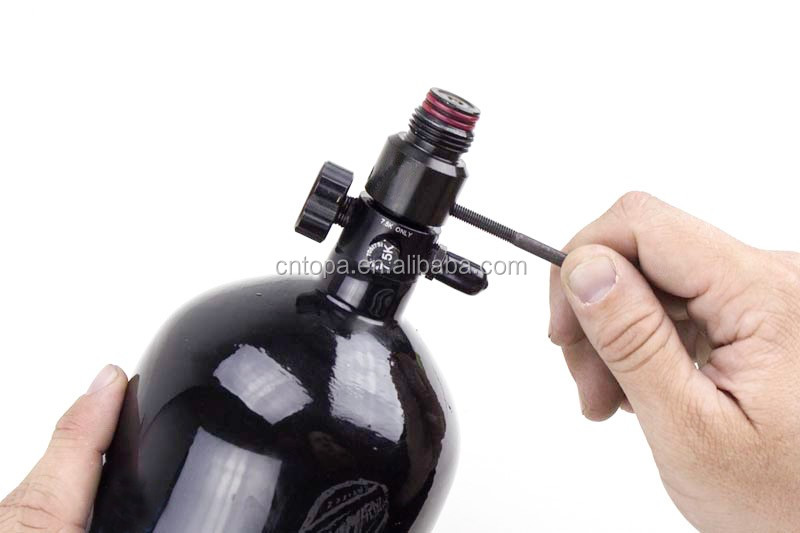
Before we start taking apart your paintball adjuster, we need to address a few issues. It is very important to make sure your tank is completely empty before you go forward. You can do this in several ways. Using something to push the pin on the adjuster down, like a hex wrench or screwdriver, will allow the air to escape. The easiest way is to use the on/off ASA. If you have an ASA on your paintball that uses a macro wire, just disconnect the hose from the switch, or screw the tank onto the ASA, depress the pin and let the air escape.
 |
 |
|||
|
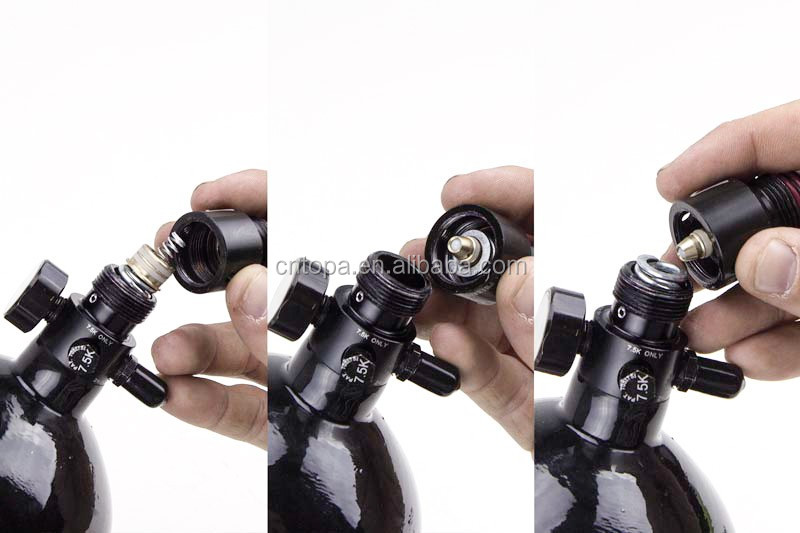
Part 1 Preparing the Bonnet 1. Make sure your tank is completely empty. 2. Use a 3/32 hex wrench (Allen wrench) to remove the three captive screws on top of the adjuster. |
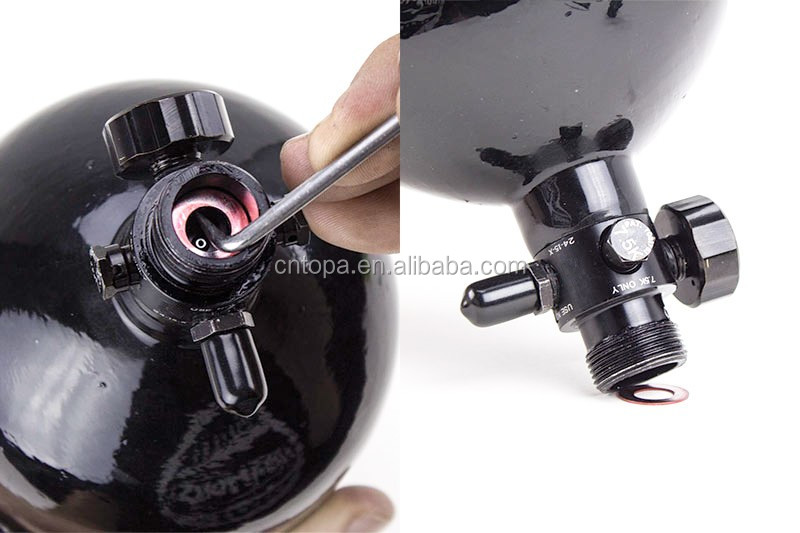
Part 2 Hood Removal 1. Now that the set screws have been removed, it is time to remove the valve cover. 2. Using a 10-32 screw or Ninja Bonnet removal tool, hand thread the screw all the way down into one of the set screw holes. When the screw is fully engaged, unscrew it 2 full turns and use the screw as a lever to turn the bonnet counterclockwise. |
|||
 |
 |
|||
|
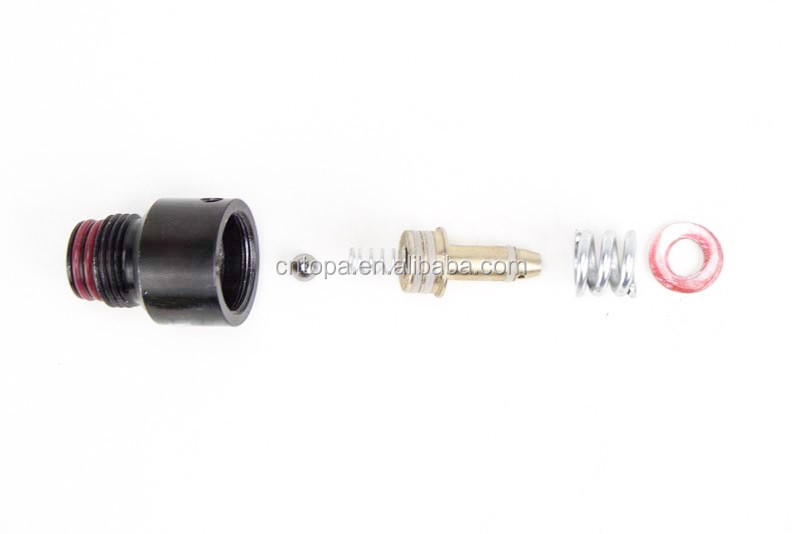
Part 3 Internal Disassembly 1. In most cases, the piston and all regulator internals will remain in the bonnet. If not, the piston will be stuck in the base and it will come out instantly with just a slight pull. 2. If any internal parts are in the base of the adjuster, remove them. |
Part 4 Removing the gasket Before shipping the regulators, we bench-tested them and added spacers to fine-tune the pressure to 750PSI. This means that the number of spacers may vary by adjuster. Removing all the red spacers will get the regulator very close to 500 PSI. Remove the red spacer on the bottom of the adjuster base. We use an O-ring opening pick to do this. You can also tap the adjusters lightly on a hard surface and they should fall out. |
|||
 |
 |
|||
|
Part 5 Put all internal parts back into the bonnet. If you have a pin valve adjuster, the only difference is that the adjuster uses a pin instead of a ball bearing, and the spring that contacts the pin will be shorter. |
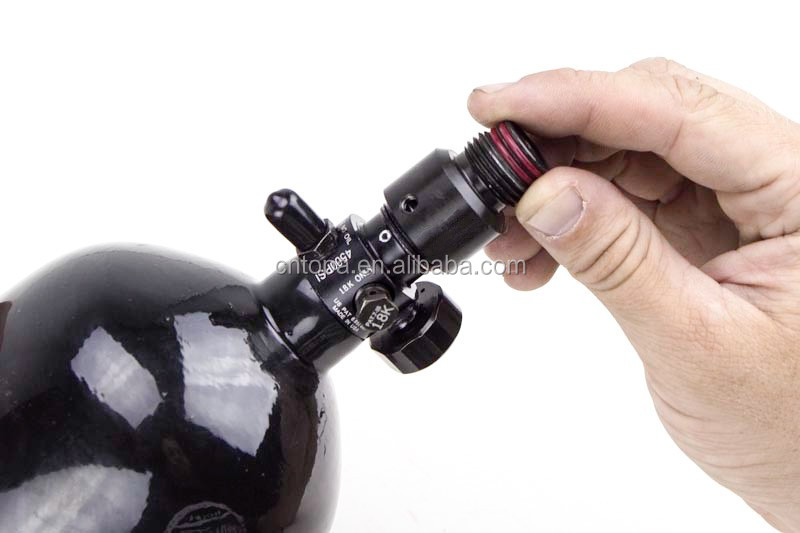
Part 6 Regulator Reassembly 1. Screw the bonnet back into the regulator base. Bonnets should be hand-tight, not tools or screws. 2. Reinstall the fixing screws. 3.Bam, you have a low pressure regulator. |

