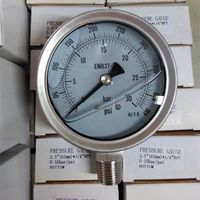
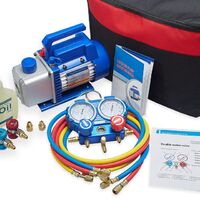
HVAC Gauge Car AC Charging Kit 3 Way Manifold Gauge Cluster for R22/R32//R410a/R134a Air Conditioning Tools and Equipment
- $25.00 / 1 - 49 pieces
$24.00 / 50 - 1999 pieces
$12.00 / >=2000 pieces - 1 piece
- Wenling Yangyi Mechanical And Electrical Products Co., Ltd.
- Zhejiang, China
- Ms Rosa Lau
PRODUCT DETAIL
| pressure: | Burst pressure: 3000 psi | Packaging Details: | Packaging: Packed in a box of 5 blow molded boxes |
| Package preview: | Refrigerant: | R134a R12 R22 R502 | |
| port: | Ningbo/Shanghai/Yiwu | MOQ: | 1 |
| window: | with glass window | Warranty: | 1 year |
| Feature 2: | Low pressure side refrigerant charge | feature: | vacuum pump |
| Origin: | Zhejiang, China | payment terms: | L/C, D/P, D/P, T/T |
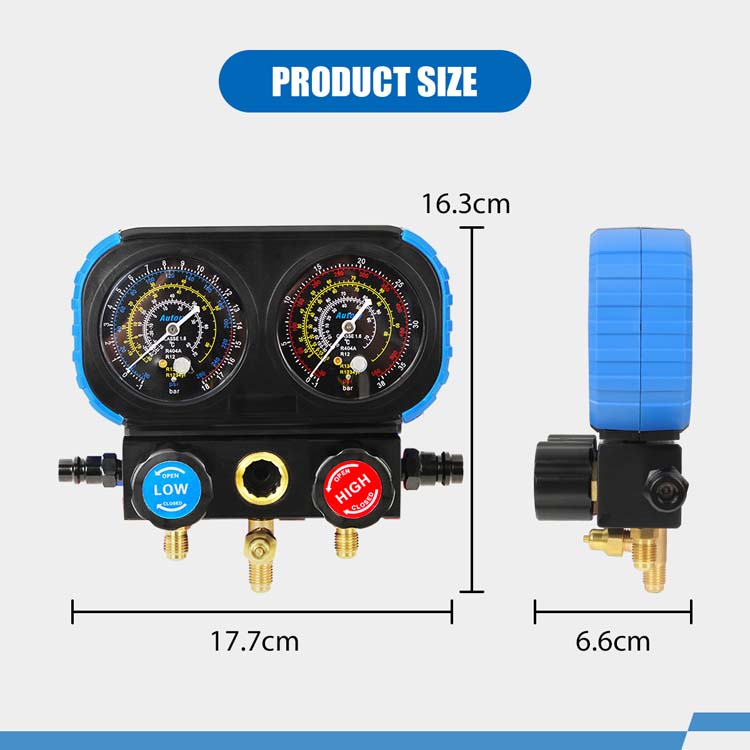
| Pressure range: | -30 - 260 PSI (Blue), -30 - 550 PSI (Red) | product name: | Manifold Instrument Cluster |
| Customization support: | OEM production | Supply capacity: | 700 pieces per day |
| brand: | OEM/overflow | adapter: | 1/4'' to 1/2'' Acme |
| accuracy: | ±1.6% | model: | YY-1001 |
Product Description
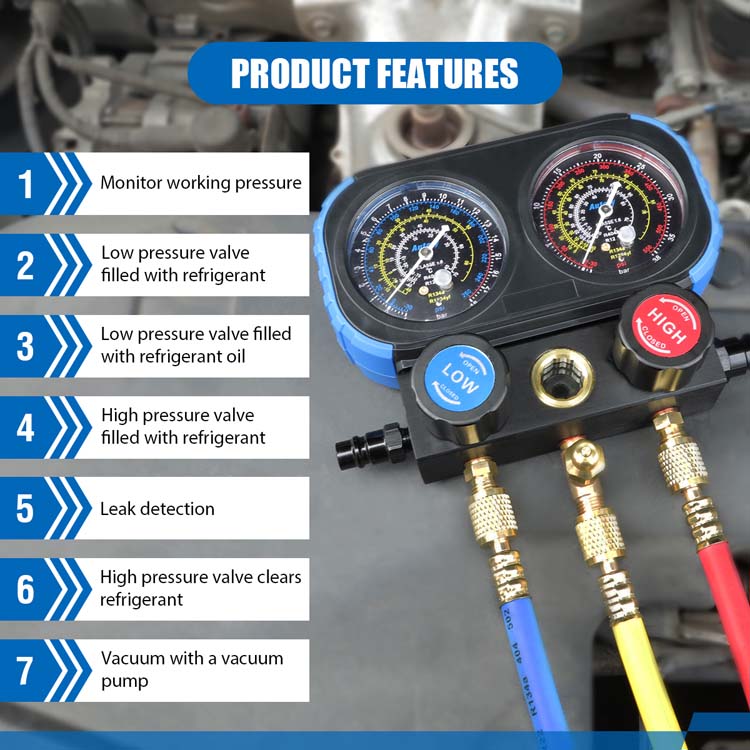
【multifunctional】This professional home/car AC charging kit is compatible with R134A R1234YF R404A R12 refrigerants.The main functionAC instrument group: 1. Working pressure observation 2. Low pressure side refrigerant charge 3. Low pressure side oil charge 4. High pressure side liquid refrigerant charge 5. Leak detection 6. High pressure side refrigerant purge 7. Vacuum pump vacuum.
detailed picture
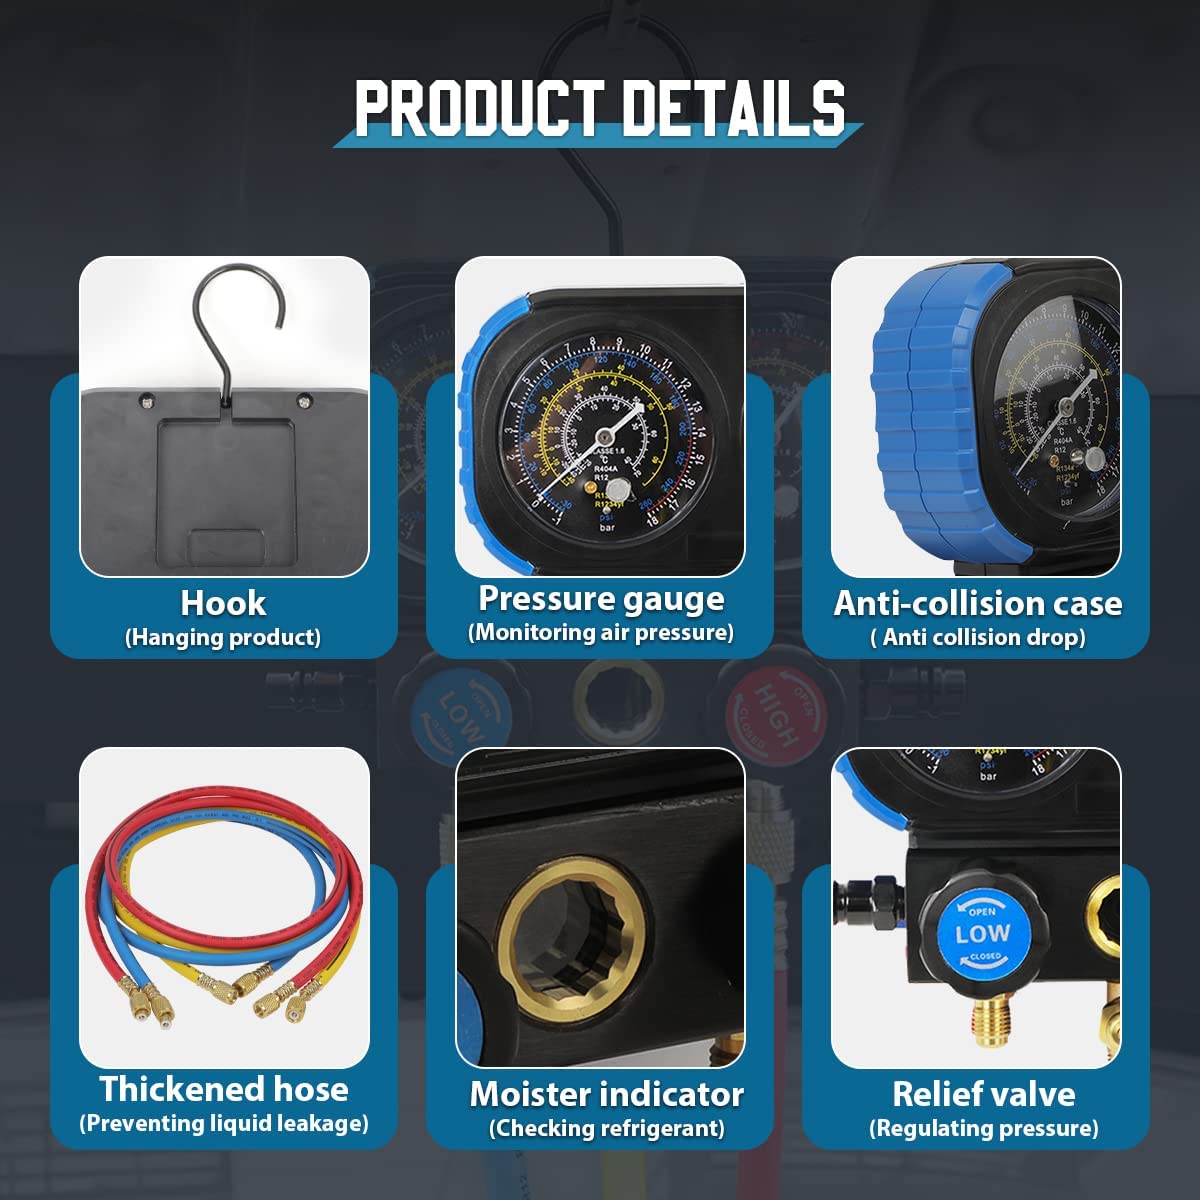
Specification
Technical Parameters | ||
unsuitable media | Ammonia (R717) and ammonia-containing refrigerants | |
Maximum overload pressure | 75bar, 1087psi, 7.5MPa, 76.5kgf/cm², 7500KPa | |
pressure range | 0~50bar, 0~720psi, 0~5MPa, 0~51kgf/cm², 0~5000KPa (relative pressure) | |
Vacuum range | -29.9~0inHg | |
solve | 0.1bar, 0.1psi, 0.001MPa, 0.1kgf/cm², 1Kpa, 0.1inHg | |
sensor | Pressure sensor (1s detection frequency) | |
Auto shutdown time | 15 minutes | |
backlight time | 3 minutes | |
Operating temperature | -10~50℃, 14~122°F | |
Storage temperature | -20~60°C, -4~140°F | |
hose | Red: 1/4"-5/16"; Yellow: 1/4"-1/4"; Blue 1/4"-5/16"; With 2 adapters, male: 5/16”SAE, female: 1/14”SAE | |
standard length | 3×150cm | |
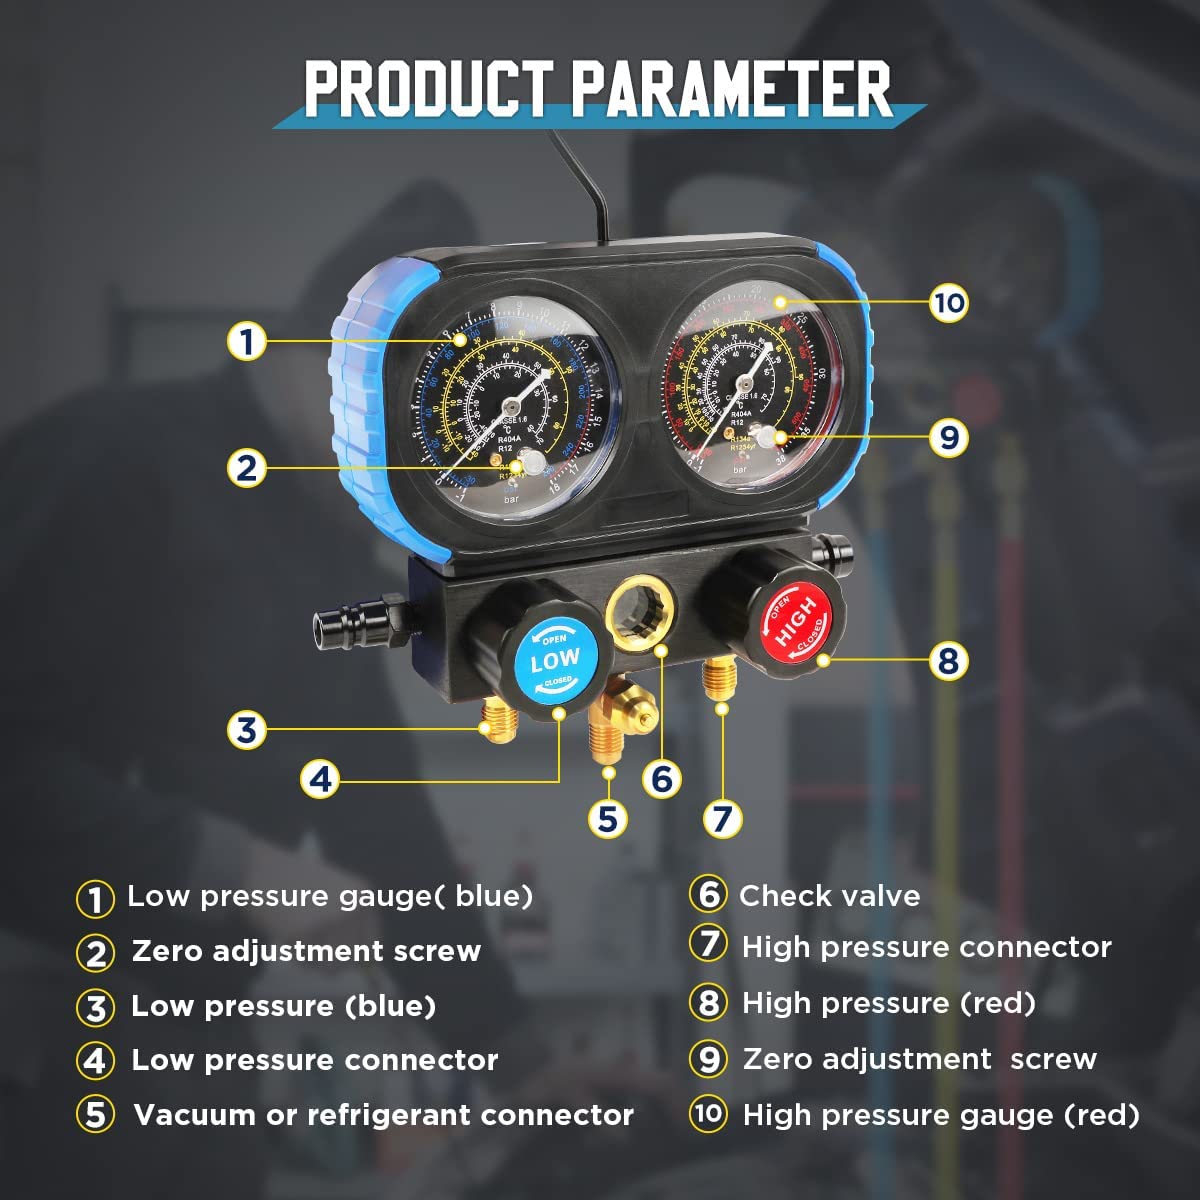
* Connect with the system
1. Close the low pressure valve and high pressure valve first;
2. After the interface is connected to the blue pipe (low-pressure quick connector), lock the low pressure of the system;
3. After the interface is connected to the red pipe (low-pressure quick connector), lock the high pressure of the system.
4. The connection interface between the yellow tube and the vacuum pump. (Before connecting the system, please check whether the pointer of the pressure gauge is at zero, otherwise turn on the gauge screw to zero.)
* Vacuum system
(Note: This step must be performed under system pressure, otherwise the pressure should be released in advance).
1. After completing the above steps, turn on the vacuum pump;
2. Open the low-pressure valve (blue) and high-pressure valve (red), (open the high-pressure and low-pressure quick connectors) and the system starts to vacuum;
3. After a certain period of time (10-30 minutes), check whether the system is completely evacuated, otherwise the vacuum should be repaired and re-evacuated;
4. Close the high and low pressure valves at the same time, and finally close the vacuum pump.
how to use
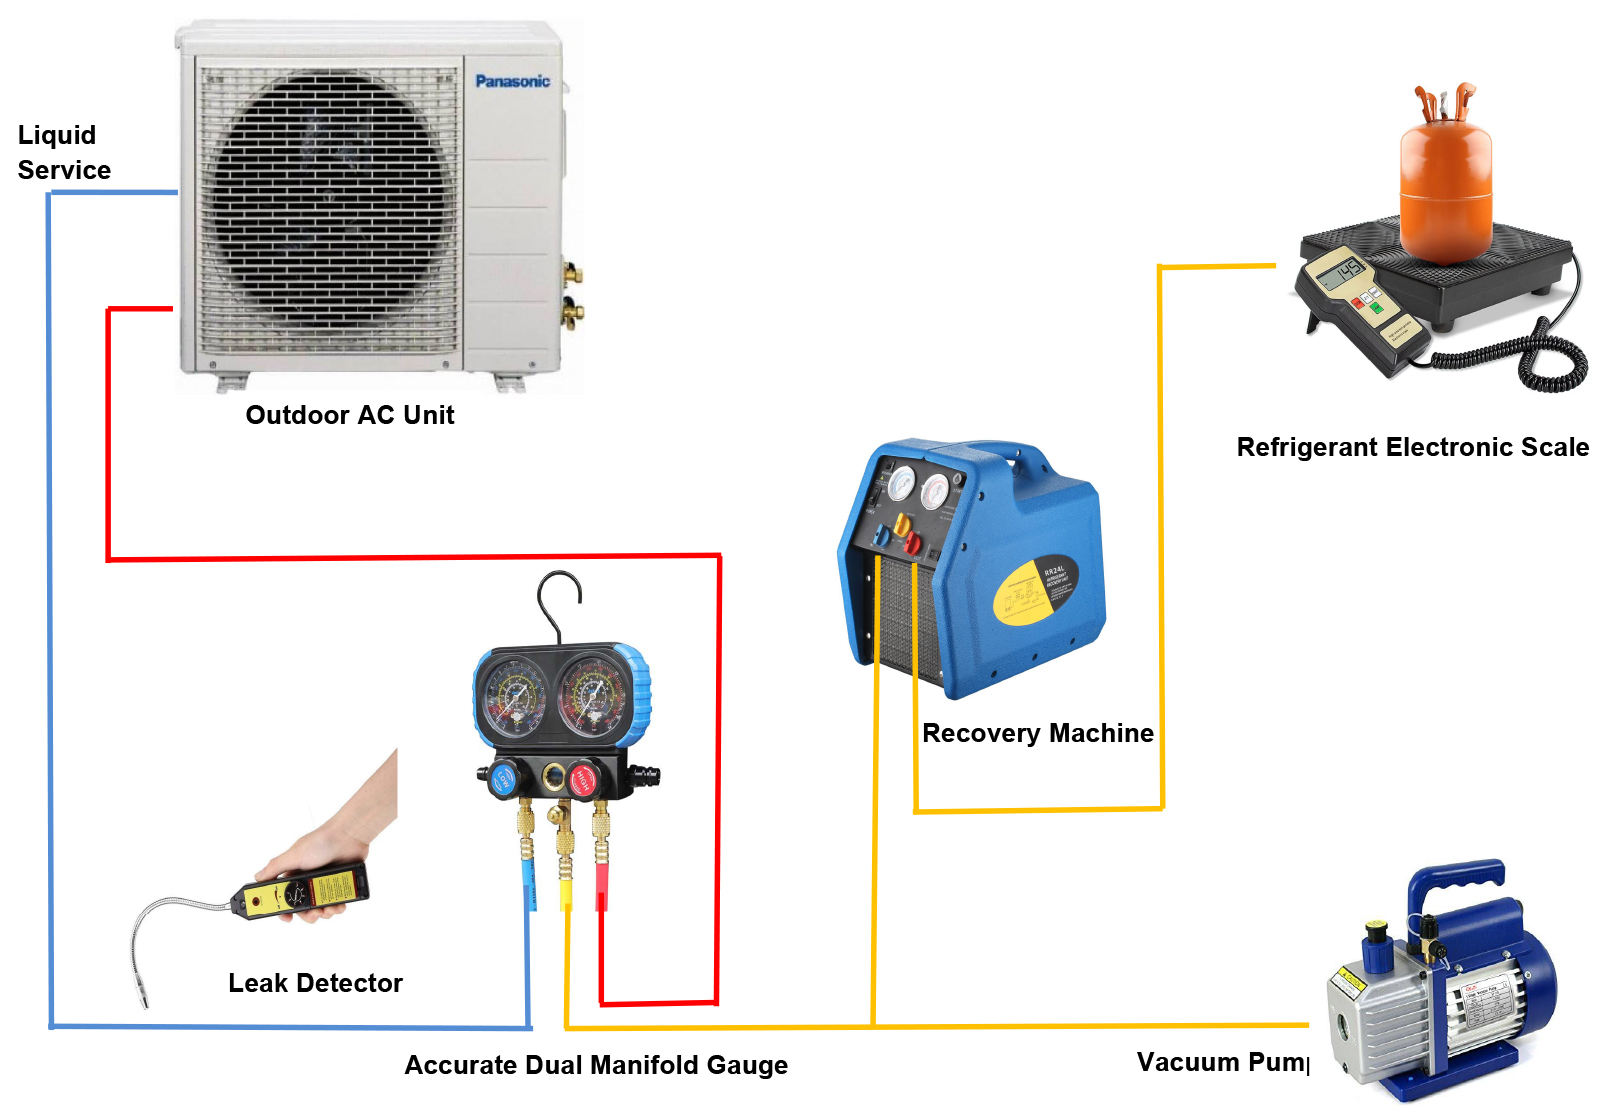
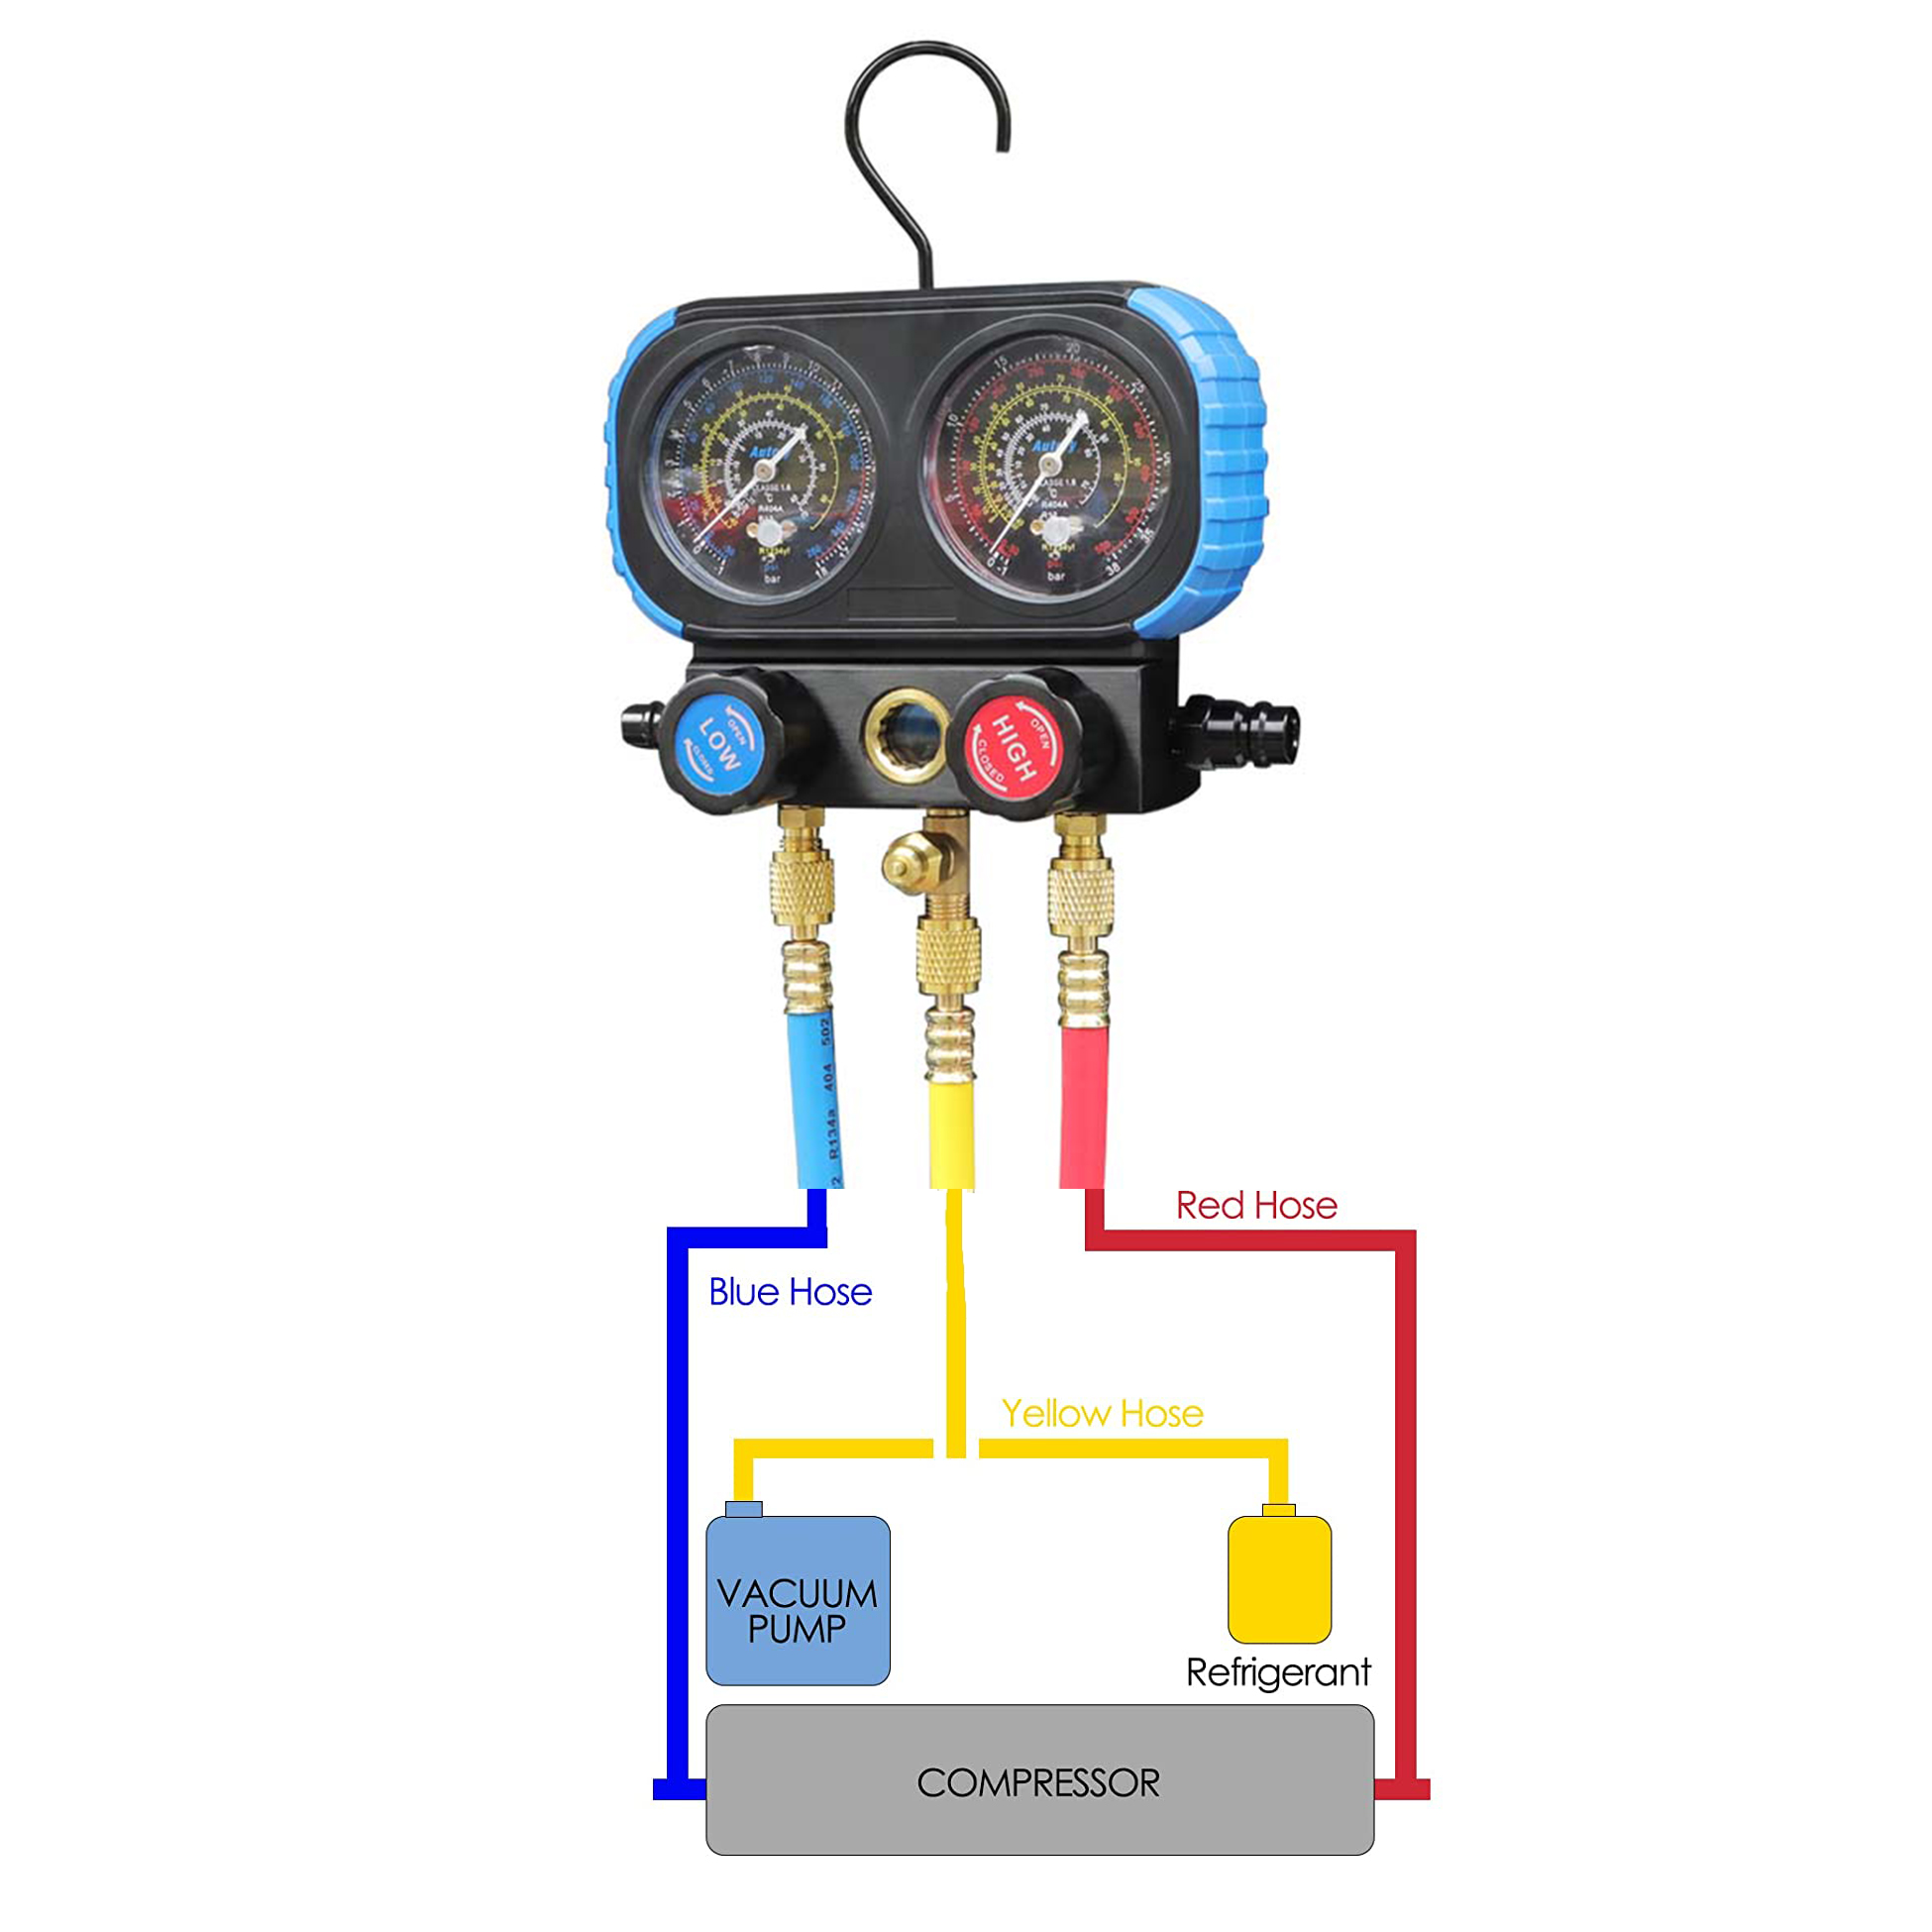
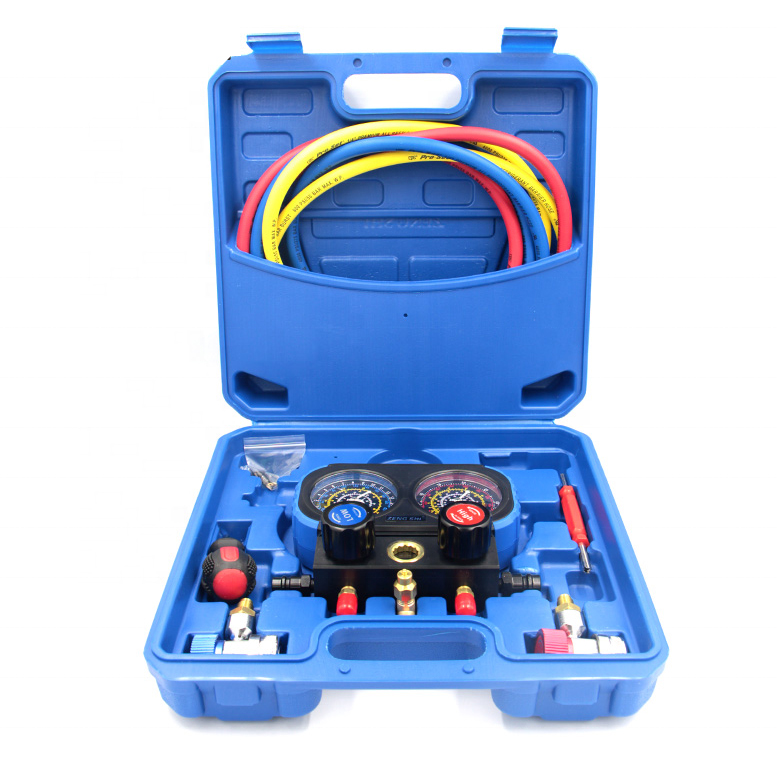
System Filling Refrigerant
1. Put away the yellow tube and vacuum pump, and tighten the refrigerant bottle. Open the refrigerator bottle (forward), put the spool on the bench group, and exhaust the yellow tube;
2. Invert the refrigerant bottle, open the low-pressure valve, and add refrigerant to the high-pressure valve;
3. To the specified amount (according to the volume provided by the system manufacturer), close the high-pressure valve and low-pressure valve, and pressurize the refrigerant bottle at the same time;
4. After running the system test (about 5-10 minutes), check the system pressure and temperature;
5. When the refrigerant is insufficient, positively pressurize the refrigerant bottle, slowly open the low-pressure valve (do not open the high-pressure valve), and put in an appropriate amount of refrigerant gas;
6. If the temperature is too high, close the cylinder, slowly open the high-pressure valve, discharge an appropriate amount of refrigerant from the meter core (at this time, pay attention to the discharge of refrigerant to hurt people), close the high-pressure pressure valve, and re-test. Back and forth until normal;
7. After normal operation, close the refrigerant bottle and valve, and then remove the high and low pressure quick connectors and the system (note the high temperature and heat).
VIEW MORE
Other Products
-
 Stainless Steel Vacuum Chamber Vacuum Degassing Chamber Glass Cover Silicone for Evacuating and Protecting Food$1.00 / piece
 -
 HVAC Refrigerant Charge Recovery Station with 5 Valve Manifold Pressure Gauge for Auto Air Conditioner Repair$99.00 / piece
 -
 R32,R1234yf Refrigerant Recovery Unit/machine 3/4 HP Car Air Condition machine for other refrigeration as R410A, R134A$199.00 / piece


