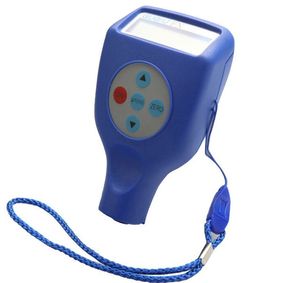
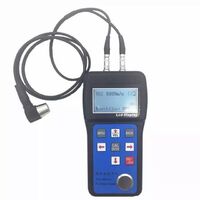
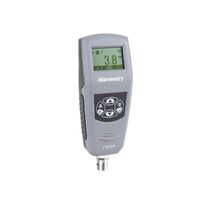
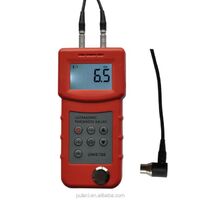
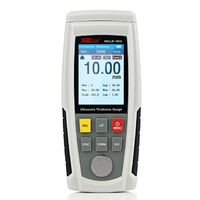
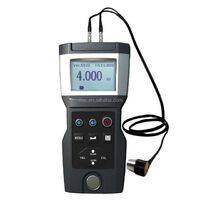
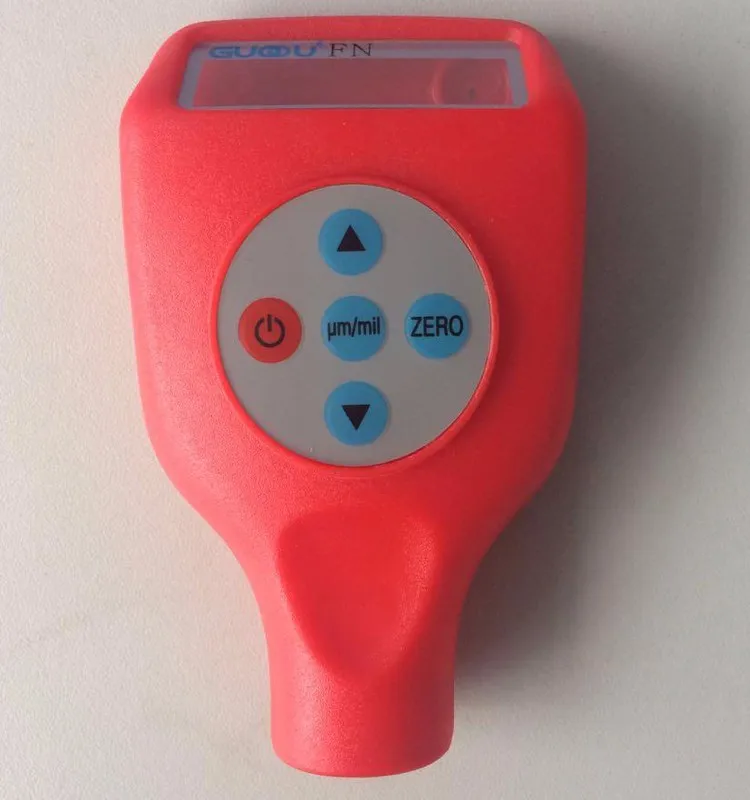
Automobile paint surface inspection equipment
- $200.00 / 1 - 4 pieces
$170.00 / 5 - 9 pieces
$160.00 / >=10 pieces - 1 piece
- Guangzhou Guoou Electronic Technology Co., Ltd.
- Guangdong, China
- Ms Jennifer Chang
| Thinnest substrate: | 0.4mm | Minimum curvature: | 5mm convex; 5mm concave |
| place of origin; place of origin: | Guangdong, China | Single package size: | 28X24X10 cm |
| Gross weight per piece: | 1.000 kg | weight: | 99g (including battery) |
| model: | GTS8102 | Packaging Details: | plastic shell |
| power supply: | Two 1.5v AA batteries | brand: | Guo Europe |
| Packaging Preview: | color: | Red | |
| Resolution: | 0.1um (0-99um) and 1um (over 100um) | accuracy: | 1~3% |
| Material: | plastic | Measuring range: | 0~1250um |
| Sales unit: | single product | Minimum substrate: | 10*10mm |
Automobile paint surface inspection equipment
feature
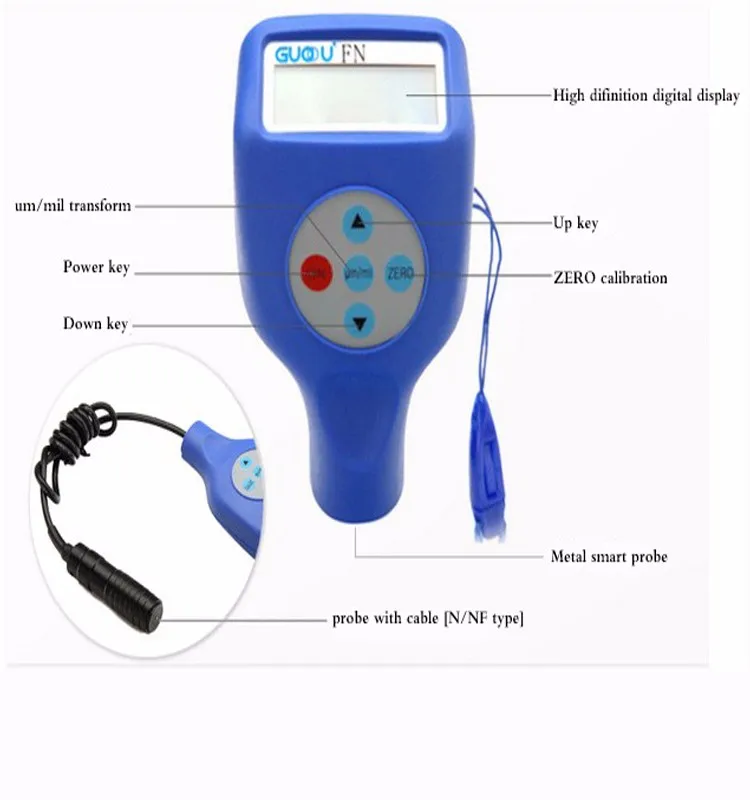
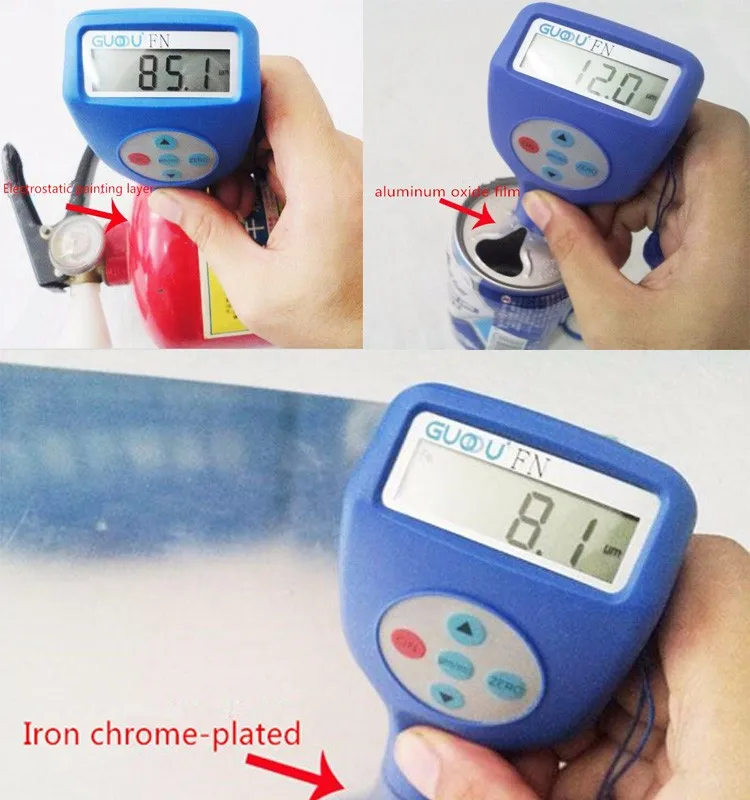
1. Thickness measurement Use both magnetic method and eddy current method to measure non-magnetic coatings on magnetic metal substrates, or non-conductive coatings on non-magnetic metal substrates.
2. A single-point or two-point method can be used to correct the probe system deviation to ensure
The accuracy of the device during measurement.
3. Fast automatic identification of ferrous and non-ferrous substrates.
4. Power supply voltage indication.
5. The speaker beeps when running.
6. Automatic shutdown when idle; manual shutdown.
7. Negative display function to ensure the accuracy of zero calibration.
8. Ultra-low power consumption, less than 10uA in standby.
Technical data
| Model | GTS8102, GTS8202 |
| Measuring range | 0~1250um/0~50mil (default range) |
| Resolution | 0.1um(0-99um)/1um(over 100um) |
| accuracy | ±1-3%n or ±2.5um |
| minute. Radius workpiece | F: convex 1.5mm/concave 25mm N: convex 3mm/concave 50mm |
| minute. Measurement area | 5mm |
| minute. Sample thickness | 0.3mm |
| power supply | 2 x1.5V AA batteries |
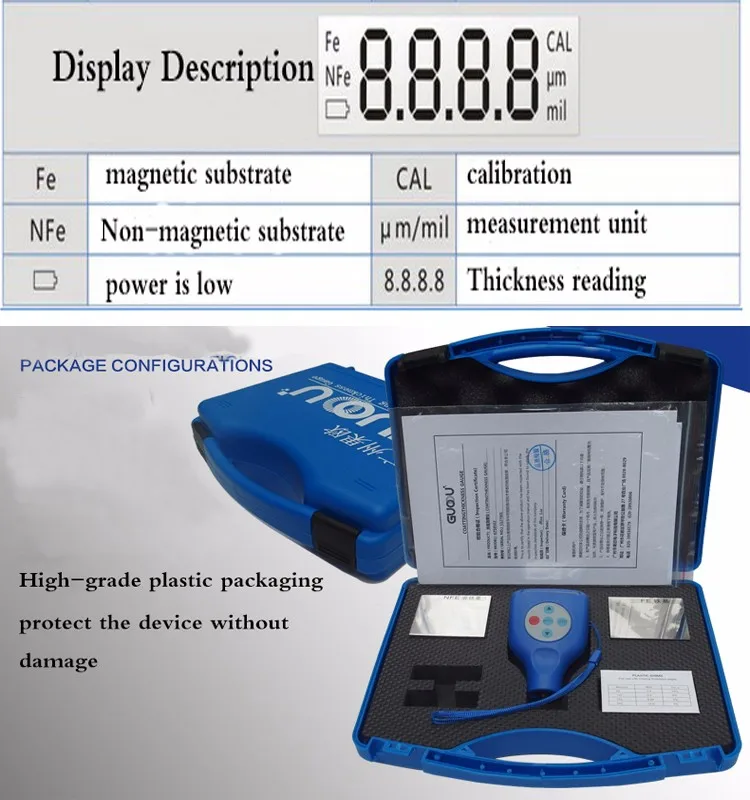
| battery indicator | low battery indicator |
| aspect | 102 x 66 x 24 mm |
The list of items
Name | quantity |
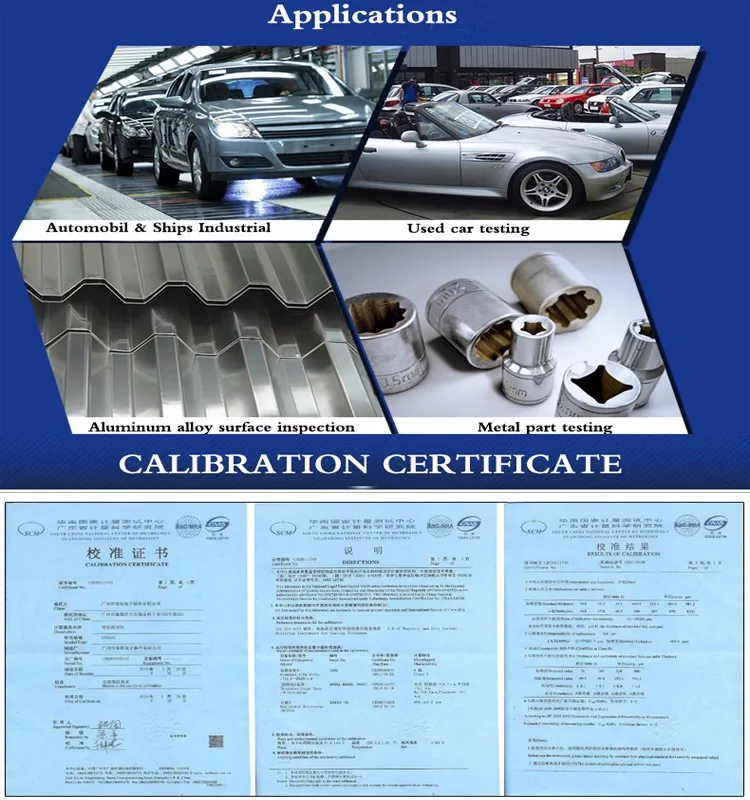
Instrumentation | 1 |
standard movie | 5 |
substrate | 2 |
box | 1 |
User Manual | 1 |
reset
(1) Power on and off state,
(2) Press and hold the μm/mil key,
(3) Then press the ON button once,
(4) Release the μm/mil key. The screen should display "8888",
(5) Press the power button again, the reset is completed, and the machine is turned off.
Calibration method
a) Press and hold ê in the power-off state, and then press the ON key; then release the ON key first, and then release the ê key. The screen should show CAL and flash <0.0 μm> to indicate it is operating in basic calibration.
b) Measure the zero point. Measure the uncoated substrate, then press the ZERO key, <0.0 μm> stops flashing on the screen.
c) Calibrate 5 standard membranes in sequence. After each calibration, press the μm/mil key to confirm.
d) During standard calibration, the thickness should be increased in order, and one thickness can be calibrated multiple times. The next thickness must be greater than 1.6 * the previous thickness, ideally 2; the maximum measurement should be close to but not exceeding the maximum probe range. Note that the final reading must be greater than 500 μm.
e) After six-point calibration, measure a zero point; the device will automatically save the calibration results and shut down. The new calibration value will be used the next time you turn it on.

our service
More than 1.6 years of experience in manufacturing precision measuring instruments.
2. All products have reliable quality and wholesale price.
3. Each inquiry will be replied within 24 hours.
4. Samples and orders can be provided as soon as possible.
5.OEM and ODM orders are warmly welcome.
6. Provide you with good after-sales service at any time.
7. After we get the tracking number, we will share with you and track the delivery.
purchase guide
Step 1: Find the model you want and tell us your detailed requirements;
Step2: Confirm the pro forma invoice, arrange the order after receiving your payment;
Step 3: Confirm and ship, then the tracking number will be sent to you in time.
Step 4: We will help track your shipment until you receive it safely.
Whenever you need something from us, you can find me by:
Contact Person: Jennifer Chang
MP/WhatsApp: 86-18926206046
Skype: guouinstrument
Trade Manager: guou
QQ: 2881995052
FAQ
Q1: | Are you a factory or a trading company? |
A1: | We are a professional precision measuring instrument manufacturer with a factory in Huadu, Guangzhou. |
Q2: | Can I customize details like measurement range/color/packaging? |
A2: | Absolutely, OEM and ODM orders are welcome. We may charge you a molding fee first, after you place an order, pay you back. |
Question 3: | What is your MOQ? Do you accept the quantity I like to order? |
A3: | For most of our models, we have no MOQ. Any quantity is available, just share your detailed requirements with me and let us Take the opportunity to do something together. |
Question 4: | Can I get a sample? Is it free? |
A4: | Please tell me your model selection and detailed requirements, if we don't spend too much money, we can provide free samples. |
Question 5: | How many days do you need to provide samples or orders? |
A5: | Samples are available within 2-3 business days and order within 5-7 business days. For custom samples or orders, more days is needed. |
Question 6: | Where is your factory? May I have a tour? |
A6: | Our factory is located in Huadu, Guangzhou, very close to the new Baiyun International Airport. You are always welcome here.
|

